


Harnessing the sun’s energy for your RV’s electrical needs is a smart, efficient, and sustainable method for powering your essentials while on the go. Solar power systems for RVs are gaining popularity due to their convenience and eco-friendly nature. By converting sunlight into electricity, solar panels can charge your RV batteries, reducing dependency on generators and shore power hook-ups. Ready to learn how to install your own system? Let’s delve into the process.
Understanding Solar Power Systems for RVs
Before we delve into installation, it’s important to understand how a solar power system functions in an RV. The system comprises several crucial components: solar panels, a charge controller, a battery bank, and an inverter.
A découvrir également : Can You Reduce Engine Bay Temperatures with a Vented Carbon Fiber Hood on a Dodge Viper?
Solar panels are affixed to the roof of your RV and convert sunlight into direct current (DC) electricity. The charge controller regulates the flow of electricity to the batteries, preventing overcharging and extending their lifespan. The battery bank stores the generated electricity. Finally, the inverter converts the stored DC power into alternating current (AC) power, which is used by most appliances.
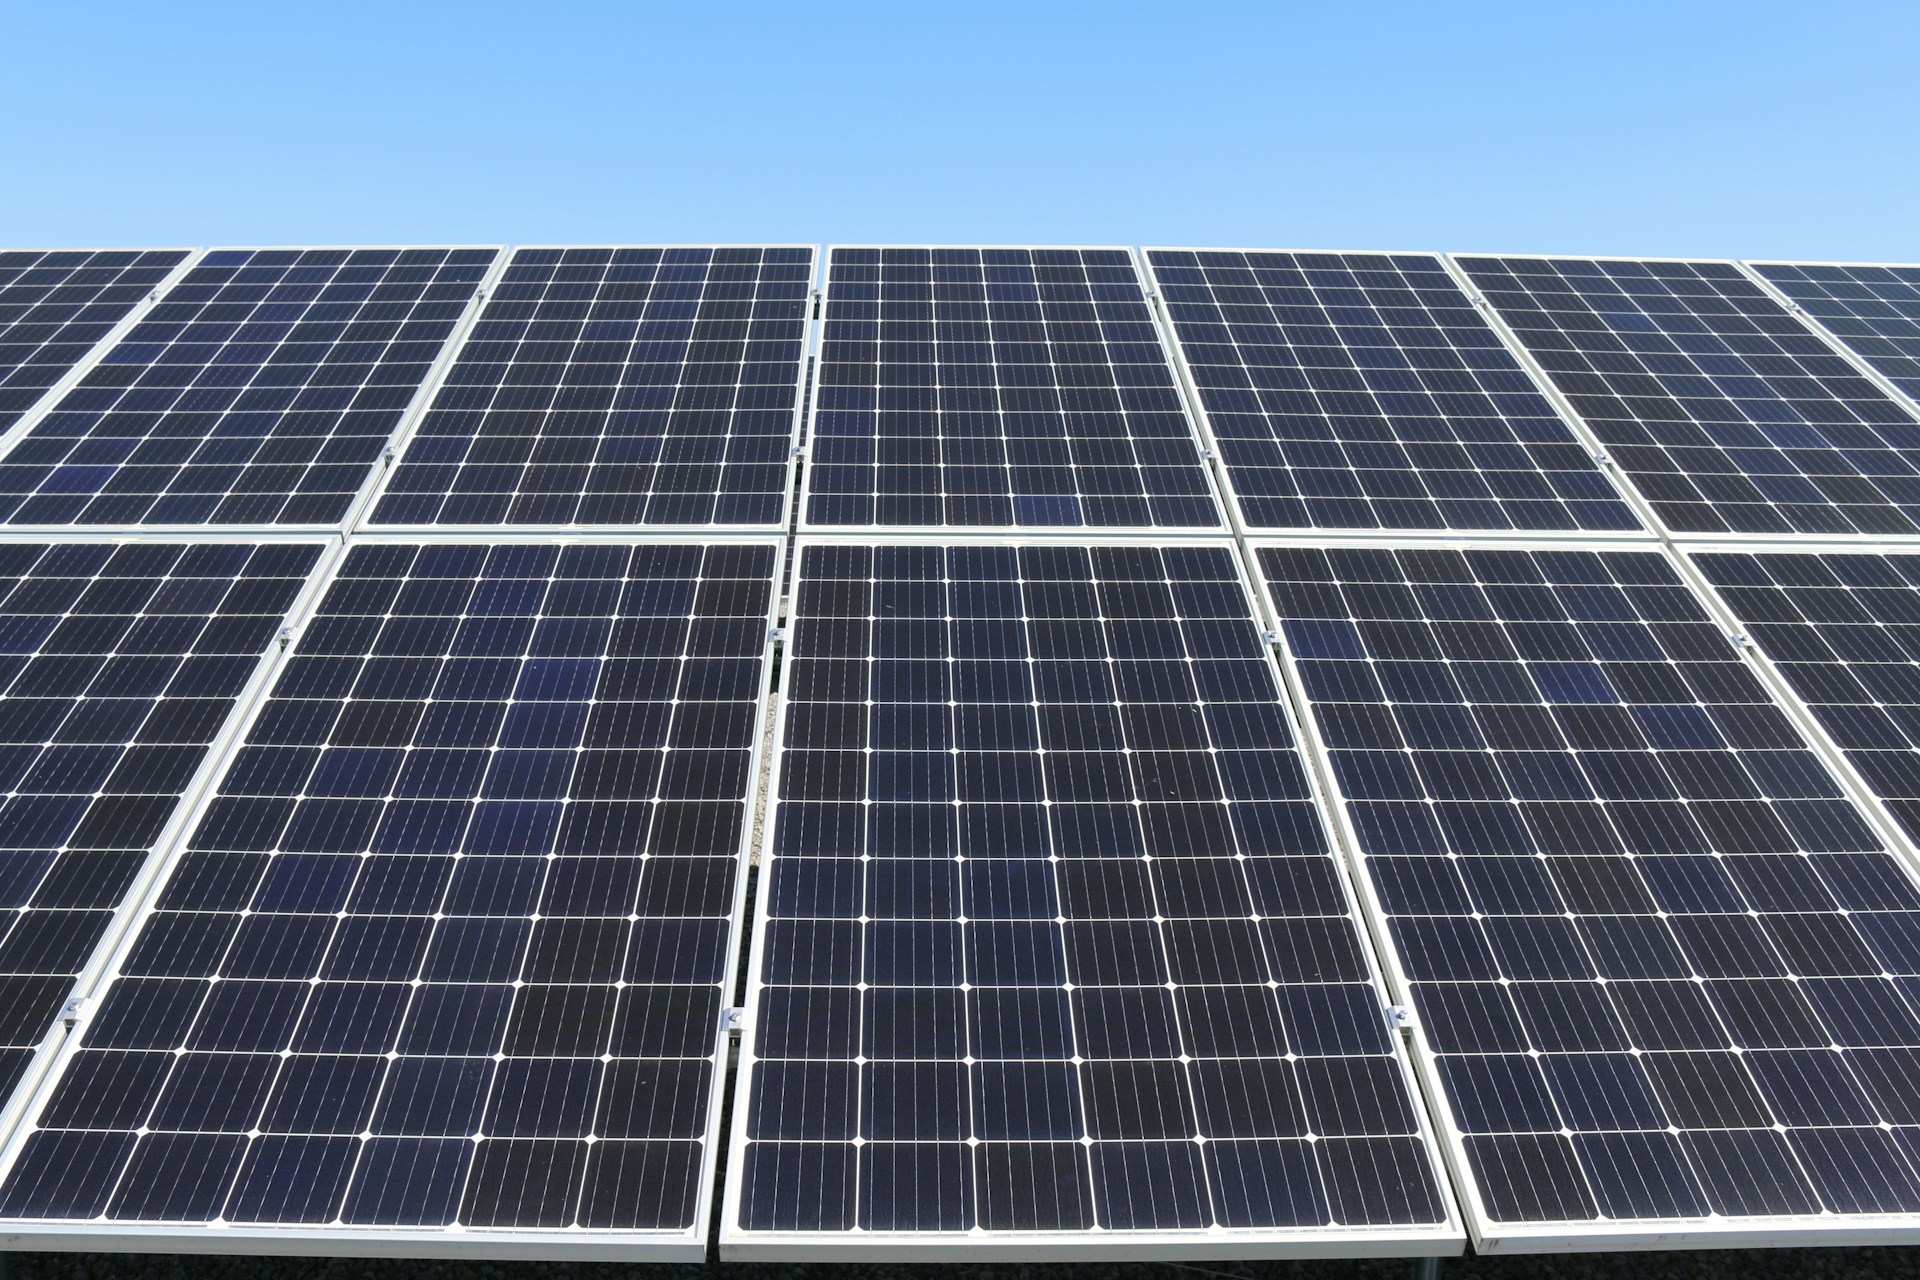
Choosing and Sizing Your Solar Panels
Selecting the right solar panels for your RV involves considering their size, capacity, and efficiency. Panels typically range from 50 to 160 watts, and you should choose based on your energy needs. For instance, if you predominantly use your RV for weekend trips with minimal electronic usage, a smaller panel may suffice. However, for full-time, off-grid living with multiple power-hungry appliances, larger panels offering more watts would be necessary.
A lire aussi : Can You Retrofit Adaptive LED Headlights on a 2019 Lexus IS for Better Night Driving?
While choosing your panels, also consider the available roof space on your RV. Measure the area carefully to ensure the panel will fit comfortably and won’t obstruct other rooftop elements such as vents, antennas, or AC units.
Picking the Right Charge Controller
Once you have selected your solar panels, the next step is to get a suitable charge controller. Controllers come in two types: Pulse Width Modulation (PWM) and Maximum Power Point Tracking (MPPT). While PWM controllers are more affordable, MPPT controllers are more efficient, particularly in low light conditions, and are generally the preferred choice for larger systems.
The controller’s capacity should be based on the total wattage of the solar panel and the system’s voltage. To calculate the required controller size, divide the total watts of your solar panels by the battery bank’s voltage. For example, if you have a 200-watt panel and a 12-volt battery system, you will need a controller rated for at least 16.67 amps.
Setting Up the Solar Panels on the Roof
After choosing your panels and controller, it’s time to install the panels on your RV’s roof. Begin by mapping out the exact area where the panels will be placed. Ensure the area is clean and free from debris. Then, securely mount the panels using the brackets and hardware provided with the kit.
Next, you need to wire the panels to the charge controller. Use suitable, weather-resistant solar wires, ensuring they are properly shielded from elements. The wires should be run through the roof and into the RV, preferably through a pre-existing vent or hole to minimize drilling. Always follow the wiring diagram provided by the manufacturer and ensure the polarity is correctly connected to prevent any potential damage.
Connecting the Charge Controller, Battery Bank, and Inverter
The final step in setting up your solar power system is connecting the charge controller to the battery bank and inverter. Connect the wires from the solar panels into the input side of the controller, and then connect the output wires to the battery bank. This will enable the flow of electricity from the panels to the batteries via the controller.
After this, connect the inverter to the battery bank. The inverter converts the DC electricity stored in the batteries into AC power, ready to be used by your RV’s appliances. Be sure to mount the inverter in a well-ventilated space as it can produce heat during operation.
By following these steps, you can effectively turn your RV into a self-sustaining unit, harnessing the power of the sun to generate clean, renewable energy for your off-grid adventures. Remember, each RV and power demand is unique, so customize your solar power system to meet your specific needs. Embrace the freedom and independence that comes with a well-planned, well-executed solar power system for your RV!
Additional Components and Safety Measures for Your Solar System Setup
Setting up your solar panel system for your RV involves more than just connecting the solar panels to the charge controller, battery bank, and inverter. It also includes ensuring that your system is safe and properly protected to maintain its efficiency and longevity.
A fuse or circuit breaker is a crucial part of your solar power system. It protects your setup from electrical overloads which could lead to fires or damage to your equipment. A fuse or circuit breaker should be installed between the battery bank and inverter, as well as between the battery bank and the charge controller.
Additionally, consider installing a battery monitor. This device gives you real-time information about your battery bank’s state of charge, letting you know when the batteries are full or in need of recharging. It can also help you understand your RV’s power consumption better, allowing you to make necessary adjustments for optimal power usage.
Beyond equipment, prioritize following safety regulations when installing solar panels. Always ensure to disconnect the power source before commencing any installation process to avoid any electrical hazards. Moreover, be cautious when working on the roof of your RV, ensuring there is no risk of falling. Lastly, remember to check local regulations on solar panel installations on RVs, as some areas may have restrictions or require specific permits.
Maintenance and Troubleshooting of Your RV’s Solar Power System
Even after successful installation, maintaining your solar power system is essential to ensure its longevity and efficiency. Regularly clean your solar panels to remove dust, leaves, or bird droppings that can obstruct sunlight and reduce the panels’ performance. Also, check the connections frequently to ensure they remain tight and corrosion-free.
Should your solar system encounter any issues, troubleshooting is often straightforward. Common problems include low power output due to shading, dirt, or improper tilt angle of the panels. Checking your system for these issues and making the necessary adjustments can often fix the problem.
However, if your system still underperforms after troubleshooting, consider seeking professional help. While the upfront cost may seem high, it can save you from further damages that could lead to more expensive repairs in the future.
Conclusion
In conclusion, installing solar panels on your RV allows you to harness solar energy, turning your vehicle into an off-grid, portable power station. While the process of installation may seem complex at first, it becomes simpler when broken down into manageable steps. Remember, the key to a successful solar power system isn’t just about choosing the correct solar panels or charge controllers. It’s also about understanding your energy needs, ensuring safety during installation, and maintaining and troubleshooting your system to keep it running efficiently. So, go ahead and switch to solar power – it’s an investment in sustainability, independence, and the freedom of the open road.